Recovery for Sprained Ankle: Timeline & Rehab Exercises

Medical disclaimer: This article is for educational purposes and does not replace medical advice. Seek urgent care if you can’t bear weight, pain/swelling is severe, there’s deformity, numbness/tingling, or symptoms worsen instead of improving.
An ankle sprain happens when the ligaments that stabilize the ankle are stretched or torn—most commonly on the outside (lateral) ankle after the foot rolls inward. Proper rehab matters: without it, repeat sprains can lead to long-term instability and pain.
If you’re unsure whether you have a sprain or another type of injury, this quick guide can help: difference between a sprain and a strain.
How long does recovery take?
Recovery depends on severity, but these timelines are a practical range:
- Mild (Grade I): often improves in about 1–2 weeks
- Moderate (Grade II): commonly 3–6+ weeks
- Severe (Grade III) or high ankle sprains: may take months
Even after pain calms down, balance and coordination deficits can linger—one major reason recurrence is common without targeted rehab.
First decision: sprain or possible fracture?
If swelling and pain are significant—especially if you can’t take steps—don’t “push through.” Get evaluated. Some clinicians use screening rules (like the Ottawa Ankle/Foot Rules) to decide whether X-rays are needed.
The evidence-based recovery approach: Protect + Optimal Loading
Modern guidance generally favors:
- Protection/support early (brace/tape or compression)
- Early functional activity as tolerated (instead of complete rest)
- Progressive rehab (range of motion → strength → balance → sport tasks)
Phase-by-Phase Recovery Plan
Phase 1: First 0–72 hours (calm it down, protect it)
Goals: reduce pain/swelling, protect ligaments, maintain safe movement.
- Compression + elevation to help manage swelling (especially early)
- Protected weight-bearing: walk as tolerated; use crutches if you’re limping badly
- Gentle range of motion: ankle pumps, circles (pain-limited)
- Support: brace/tape can help stabilize early so you move more normally
If you plan to wrap for compression/support, follow a step-by-step method here: how to wrap a sprained ankle with an elastic bandage.
Avoid: aggressive stretching into sharp pain, and “testing” hard cuts/jumps too early.

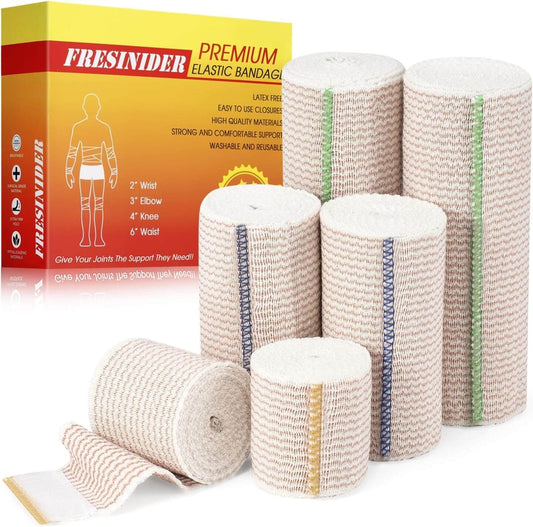
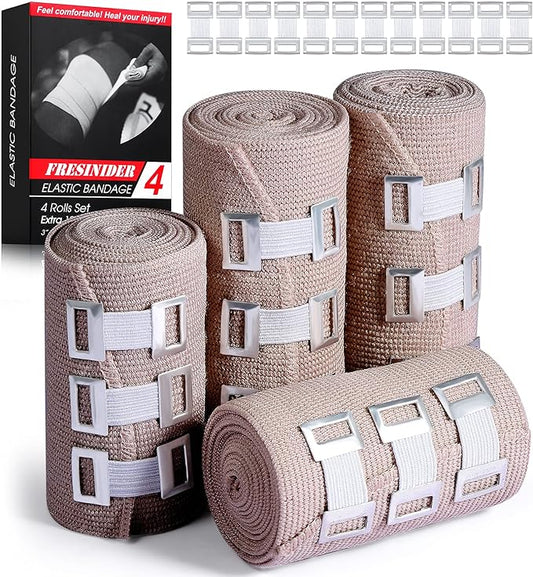
FRESINIDER Elastic Bandage
Ideal for compression in RICE — provides snug, adjustable support for ankles, wrists & more
Velcro closure for easy fit — quick on/off and easy to adjust without clips
Soft, breathable, latex-free — comfortable for sensitive skin
Reusable & washable — convenient for home, gym, and travel
Phase 2: Days 3–14 (restore motion + start strength)
Goals: normalize walking, regain range of motion, begin strengthening, start balance work.
Key exercises (most people do well with 1–2 times/day, pain-limited):
- Ankle alphabet or gentle ankle circles
- Calf raises (double-leg → single-leg as tolerated)
- Resistance band work: dorsiflexion/plantarflexion/inversion/eversion
- Balance: single-leg stand (eyes open → head turns → eyes closed)
Simple progress marker: You’re ready to progress when you can walk without a limp and swelling is trending down day-to-day.
Phase 3: Weeks 2–6 (strength + power + change of direction)
Goals: restore single-leg strength, reintroduce plyometrics, build ankle control during sport tasks.
- Single-leg calf raises: build toward 20–25 reps full range
- Single-leg squat / step-downs: control knee/ankle alignment
- Hops: two-leg pogo → single-leg hops (forward + side-to-side)
- Agility: lateral shuffles, figure-8 runs, controlled cutting
Rule of thumb: A little soreness is normal, but if swelling or pain spikes the next day, your current load is too high—scale back and progress more gradually.
Phase 4: Return to sport (RTS)
There’s no single perfect return-to-sport rule, but a safer approach is to meet clear criteria before full play. A practical checklist:
- Walk and jog pain-free without limping
- Hop and land on the injured side with good control (no “giving way”)
- Cut, accelerate, and decelerate without symptoms flaring the next day
- Balance/hop control is close to the uninjured side
Bracing vs. taping: what to use during recovery?
In early recovery, external support can help you move more normally and protect healing tissue. Many athletes also use brace/tape during the return-to-play window to reduce reinjury risk while strength and neuromuscular control catch up.
When to see a clinician (don’t wait)
Get checked if:
- You can’t bear weight, pain/swelling is severe, or symptoms aren’t improving
- There’s numbness/tingling, deformity, or the ankle feels unstable
- You suspect a high ankle sprain (pain higher up, worse with twisting)
If you notice numbness or tingling after wrapping, the dressing may be too tight. Review: signs a bandage is too tight.
FAQs
How do you recover faster from a sprained ankle?
Most people recover faster (and safer) by combining protected early movement, swelling control, and a progressive rehab plan: range of motion → strength → balance → hopping/cutting. Avoid returning as soon as pain feels “okay” if balance and control are still poor.
Should you rest completely?
Often, no. Complete rest can delay function. For many typical lateral ankle sprains, early functional activity as tolerated plus rehab is more effective than prolonged immobilization.
Why does my ankle still feel weak after the pain is gone?
Balance and neuromuscular deficits can persist beyond the acute phase—even when pain improves—so rehab should include proprioception/balance training and sport-specific drills.
Takeaway: Treat sprain recovery like a progression—not a waiting game. Protect early, restore motion, build strength and balance, then earn your way back to cutting and sport.