How to Wrap a Sprained Ankle with Elastic Bandage?

Ankle sprains are among the most common sports injuries, affecting athletes, runners, and even those walking on uneven ground. While mild sprains often heal at home, proper support is essential to reduce swelling and prevent further injury. One of the most effective and affordable tools for home care is the elastic bandage.
This guide will show you how to wrap a sprained ankle with elastic bandage step by step. You’ll also learn why elastic bandages are useful, what mistakes to avoid, and when you should seek medical care.
Why Use an Elastic Bandage?
- Compression to reduce swelling: Sprains often cause fluid buildup. A compression wrap helps control inflammation.
- Support and stability: Wrapping limits excessive ankle movement and supports the injured ligaments.
- Part of the RICE method: Doctors recommend Rest, Ice, Compression, and Elevation for sprained ankles. Elastic bandages deliver the compression part effectively.
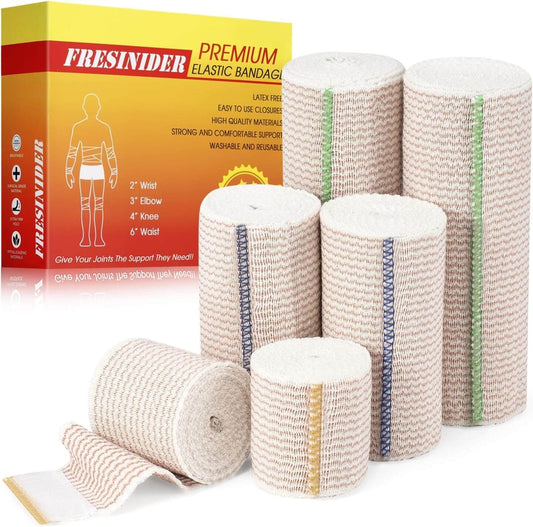
- Affordable and reusable: Unlike some braces, elastic bandages are inexpensive and can be reapplied multiple times.
Elastic bandages with clips or self-adhesive wraps are both suitable for ankle sprains. Your choice depends on comfort and convenience.
Step-by-Step Guide
Step 1: Prepare the Ankle
Sit comfortably and rest the injured foot on a flat surface. If swelling is present, apply ice for 15–20 minutes. Make sure the skin is clean and dry before wrapping.
Step 2: Start Wrapping at the Ball of the Foot
Begin just above the toes. Wrap the bandage around the ball of the foot two times to anchor it. This ensures the wrap won’t slip as you move upward.
Step 3: Use the Figure-Eight Method
Bring the bandage diagonally across the top of the foot, under the arch, then around the heel, and back across the ankle in a figure-eight pattern. This technique provides both compression and stability. Each layer should overlap the previous one by half the bandage’s width.

Step 4: Secure the Bandage Above the Ankle
Continue wrapping upward until you’re 2–3 inches above the ankle joint. Secure the end with clips, Velcro, or self-adhesive closure. Avoid bulky folds that may cause discomfort in shoes.
Step 5: Check Circulation
The bandage should be snug but not too tight. Toes should stay warm and pink. If they become numb, cold, or blue, loosen and rewrap.
Tips and Mistakes to Avoid
Tips for effective wrapping:
- Always wrap from the toes upward.
- Keep tension even to avoid gaps or pressure points.
- Rewrap if the bandage loosens during activity.
Common mistakes to avoid:
- Wrapping too tightly and cutting off circulation.
- Wrapping only the ankle without including the foot.
- Sleeping with the bandage on all night.
- Using old, stretched-out bandages that provide little compression.
Elastic bandages are effective, but they should never cause pain. If your foot feels worse after wrapping, remove the bandage and try again with less pressure.

When to See a Doctor
Not all ankle sprains can be treated at home. Seek medical help if you notice:
- Severe swelling or bruising
- Inability to put weight on the injured foot
- Numbness, tingling, or cold toes after wrapping
- Pain that doesn’t improve within a few days
A healthcare professional may recommend imaging tests or a brace for more serious ligament injuries.
Conclusion
Knowing how to wrap a sprained ankle with elastic bandage can make a big difference in your recovery. A proper wrap reduces swelling, supports healing, and allows you to stay mobile while protecting the joint. Remember to follow safe wrapping practices, avoid common mistakes, and consult a doctor if symptoms are severe.
Elastic bandages are simple, affordable, and highly effective — a must-have for every home first-aid kit.
👉 Explore more bandage wraps, athletic tape, and sports protection gear at fresinider.com to stay prepared and play safely.