What are the bandages backpackers use for cuts?

Backpackers don’t carry “one kind of bandage.” On the trail, cuts happen in different ways—knife slips while cooking, sharp rock scrapes, thorny brush, and trekking-pole blisters that turn into skin tears. The best backpacking bandages are chosen for three things:
- They stay on when you sweat and move
- They protect the wound from dirt and friction
- They’re light, compact, and easy to use with cold hands
Below is what backpackers actually use, when to use each type, and what to pack for day hikes vs multi-day trips.
Quick answer
Backpackers commonly use fabric adhesive bandages, hydrocolloid blister bandages, gauze pads + medical tape, butterfly closures/Steri-Strips, and self-adhesive wrap (cohesive bandage). The “best” one depends on cut depth, bleeding level, location (hands/feet), and whether the area is wet/sweaty.
1) Adhesive fabric bandages (the everyday workhorse)
Best for: small cuts, scraped knuckles, minor finger nicks
Why backpackers like them: light, fast, no skill needed
Pick these features:
- Fabric/cloth (better flex on joints)
- Strong adhesive for sweat
- Multiple sizes (finger + knuckle + standard)
Trail tip: For fingers/knuckles, consider an “H-shape” or knuckle-style bandage so it doesn’t peel when you grip poles.

2) Hydrocolloid bandages (for blisters and “hot spots” that can become cuts)
Best for: heel blisters, toe friction spots, shallow skin tears
Why backpackers love them: they cushion, reduce friction, and often stay on for days if applied correctly.
Key rule: Hydrocolloid works best when the area is clean and dry before applying. If your skin is sweaty, it’ll lift early.
Trail tip: If a blister is intact, don’t pop it unless you must—cover it early to prevent it from turning into an open wound.
If you’re dealing with recurring hot spots, it helps to review a simple blister-care approach before they turn into open wounds—learn more about blister care on the trail.

Hydrocolloid Roll Dressing
- Helps protect blisters
- Cut-to-fit roll design
- Cushions friction areas
3) Gauze pads + medical tape (for messy/bleeding cuts)
Best for: moderate bleeding, irregular wounds, areas where a strip bandage won’t cover
Why it’s essential: It handles more blood and dirt than a small bandage.
Backpacker method:
- Clean/flush the wound (ideally with clean water)
- Apply gauze to stop bleeding
- Tape the edges securely (or wrap with cohesive wrap)
For a reliable, step-by-step reference on cleaning and covering minor cuts, see this basic first-aid guide.
Pick these features:
- Non-stick pads (less painful removal)
- A dependable tape that sticks in humidity
If a pad or gauze ever sticks during a change, don’t rip it off dry—see these removal tips.
4) Butterfly closures / Steri-Strips (to “hold the skin together”)
Best for: clean, straight cuts where the edges want to separate
Why backpackers carry them: They can reduce gaping and help keep the wound stable until you can get proper care.
When NOT to use:
- Dirty puncture wounds
- Jagged lacerations full of debris
- Heavy bleeding you can’t control
Trail tip: If you can’t thoroughly clean it, don’t “seal in” dirt.
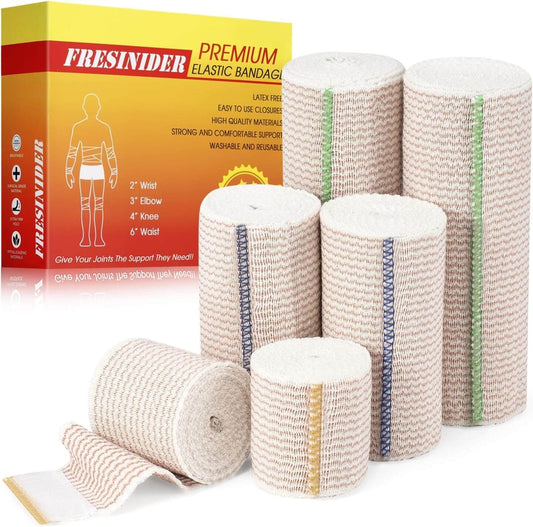
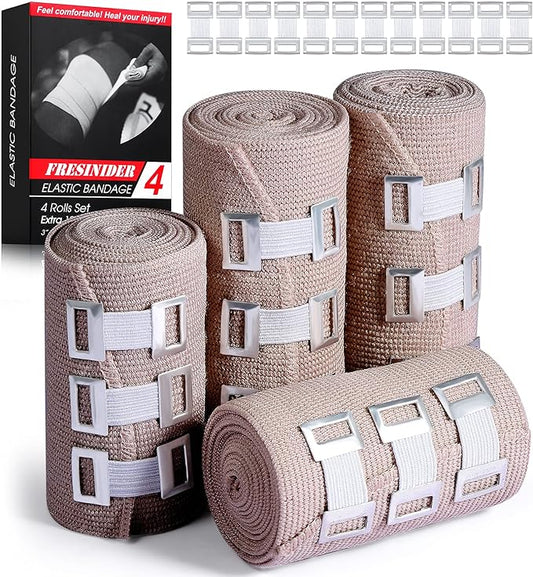
5) Self-adhesive wrap (cohesive bandage)
Best for: keeping dressings on joints, fingers, ankles, and areas under friction
Why backpackers use it: sticks to itself (not hair/skin), fast to apply, great for securing gauze without fancy technique.
Great use cases:
- Gauze on knees/elbows
- Finger dressings while you keep hiking
- Extra hold over tape in sweaty conditions

Colored Self-Adhesive Wrap
- Sticks to itself, not skin
- Secures gauze on joints
- Easy tear for quick rewrap
6) Liquid bandage (a niche option)
Best for: tiny cracks/splits (like fingertip skin fissures)
Why some backpackers carry it: ultra-light, quick barrier
Downside: it stings, not for deeper cuts, and doesn’t replace a real dressing for bleeding wounds.
7) “Worst-case” backup: a small roll of tape + a few non-stick pads
If you only carry one “serious” setup for cuts, make it:
- 2–4 non-stick pads
- a small roll of medical tape
- a short strip of cohesive wrap (optional but useful)
This covers most “not just a scrape” situations.
How to choose the right bandage on the trail (simple decision guide)
If it’s a small cut and not bleeding much
→ Fabric adhesive bandage
If it’s a blister or friction spot
→ Hydrocolloid (clean/dry first)
If it’s bleeding or the cut is larger than a strip
→ Gauze pad + tape (add cohesive wrap if it’s on a joint)
If the cut edges are pulling apart
→ Steri-strips/butterfly + cover with gauze
Backpackers’ mini first-aid kit for cuts (lightweight but legit)
Must-have
- Fabric adhesive bandages (assorted)
- Hydrocolloid blister bandages (2–4)
- Non-stick pads (2–4)
- Medical tape (compact roll)
- Small antiseptic wipes OR soap sheet
- A tiny irrigation option (even a sport-cap water bottle works)
Nice-to-have
- Cohesive wrap (mini roll)
- Tweezers (splinters/thorns)
- Nitrile gloves (1 pair)
- Small scissors
Red flags: when a cut needs medical help (don’t “hike it off”)
Seek urgent care if:
- Bleeding won’t stop after steady pressure
- The cut is deep, gaping, or you can see fat/tendon
- Numbness/weakness in fingers/toes after the injury
- Increasing redness, warmth, swelling, pus, fever, or red streaks
If you’re unsure whether a wound needs medical attention, use this first-aid reference as a quick checklist.
Pro tips backpackers learn the hard way
- Clean first, close later. Don’t trap dirt under tape/strips.
- Dry skin = better stick. Dry around the wound before applying.
- Overwrap joints. Fingers, knees, and ankles peel bandages fast—secure with wrap.
- Change dressings smartly. If it’s wet/dirty, change it; if it’s clean and stable, don’t mess with it constantly.